What Is Vape Leakage? Causes, Fixes & Prevention
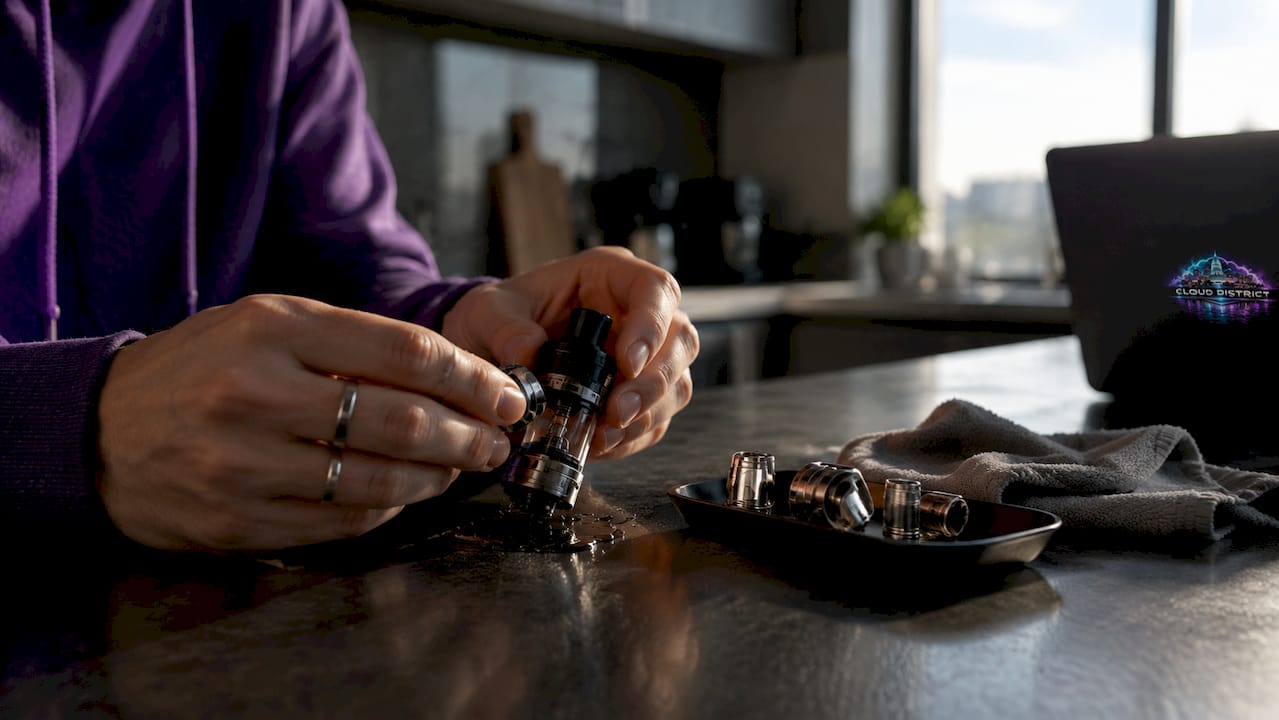
What Is Vape Leakage? Causes, Fixes & Prevention
Vape leakage is defined as the unintended escape of e-liquid from a vaping device’s reservoir, tank, or cartridge into areas where it does not belong. The industry term for this is “e-liquid spillage,” though most vapers simply call it a leak. It shows up as sticky residue on the device exterior, pooling liquid at the airflow vents, or a wet, gurgling draw that delivers a mouthful of liquid instead of vapor. Understanding what causes it, how to spot it, and how to stop it is the difference between a device that performs reliably and one that constantly disappoints.
What causes vape leakage in most devices?
Vape tanks operate as pressure-balanced systems where air, liquid, and vapor must stay in equilibrium. Any disruption to that balance creates a pathway for e-liquid to escape. The most common culprits fall into four categories.
Overfilling the tank is the leading cause. Overfilling beyond the max fill line eliminates the air gap the coil needs to function correctly. Without that gap, e-liquid floods the coil and gets pushed out through the airflow vents. The fix sounds simple, but vapers consistently ignore the fill line, especially when topping off a partially used tank.
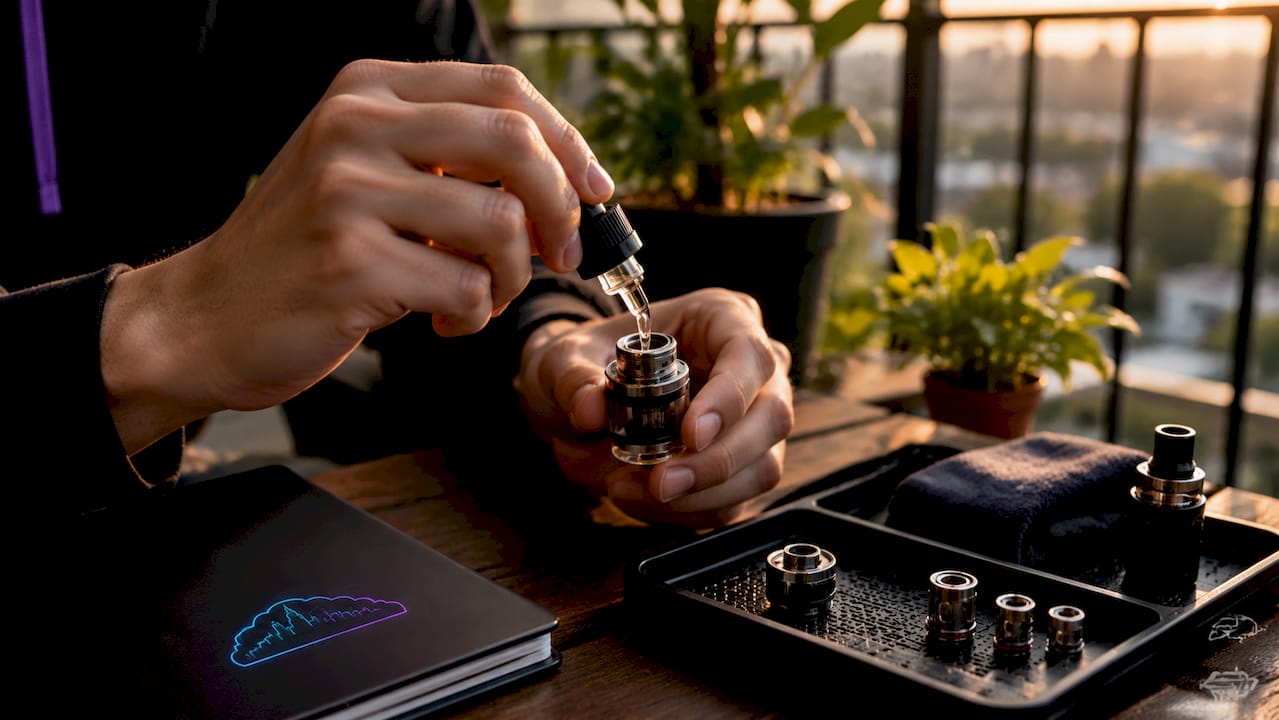
Damaged or misaligned O-rings and seals are the second most common cause. Damaged O-rings cause slow seepage that looks like dripping from the base or threading. These rubber seals degrade over time from heat, cleaning solvents, and repeated assembly. A seal that looks intact can still be slightly misaligned, which is enough to allow a slow, steady leak.
Improper coil installation creates physical gaps between the coil and the tank body. A coil that is cross-threaded or not fully seated leaves channels for liquid to bypass the wicking material entirely. Worn-out coils compound this problem because degraded wicking cotton loses its ability to hold liquid in place.
E-liquid viscosity plays a larger role than most vapers realize. Higher PG liquids flow through gaps more easily than thicker, high-VG blends. A 70/30 PG/VG liquid in a device designed for high-VG juice will find every micro-gap in the system. The balance between wicking speed and leakage risk is directly tied to the liquid’s physical properties.
- Overfilling: remove the air gap, flood the coil, force liquid out through vents
- Damaged seals: allow slow seepage at threads and base connections
- Bad coil seating: create bypass channels around the wicking material
- High-PG liquids: flow through gaps that thicker liquids would not penetrate
- Pressure changes: altitude shifts and temperature swings expand liquid and disrupt tank equilibrium
Pro Tip: Always fill through the side port, never the center tube. The center tube is the airflow channel. Filling through it floods the coil directly.
How do you tell vape leakage from condensation?
Accurate diagnosis matters because the fix for a real leak is different from the fix for condensation. Misreading the problem leads to unnecessary part replacements and wasted time.
Condensation is moisture that collects along the airflow path and mouthpiece. Environmental humidity and temperature alter aerosol condensation in ways that mimic liquid leakage. You will see small droplets inside the drip tip or a thin film of moisture at the airflow slots. This is normal vapor behavior, not a device failure.
True leakage has distinct signs you can identify in order:
- Sticky, viscous residue on the exterior of the tank or mod body, not just inside the mouthpiece
- Pooling liquid at the base of the tank or around the airflow ring
- A gurgling or bubbling sound during draws, indicating flooded coil channels
- Wet hits that deliver liquid to the mouth rather than vapor
- Rapid e-liquid level drop in the tank without corresponding vapor production
The key distinction is location and texture. Condensation is thin, watery, and confined to the airflow path. True e-liquid spillage is thicker, often colored, and appears at seams, threads, and the base of the device. Vaping aerosol behavior changes under humidity and temperature conditions, which is why a device that seems to leak in a hot, humid environment may actually be producing excess condensation.
Pro Tip: Place a dry paper towel under your device for 10 minutes. Condensation leaves a faint, clear mark. A real leak leaves a colored, oily stain that spreads.
How to fix vape leakage step by step
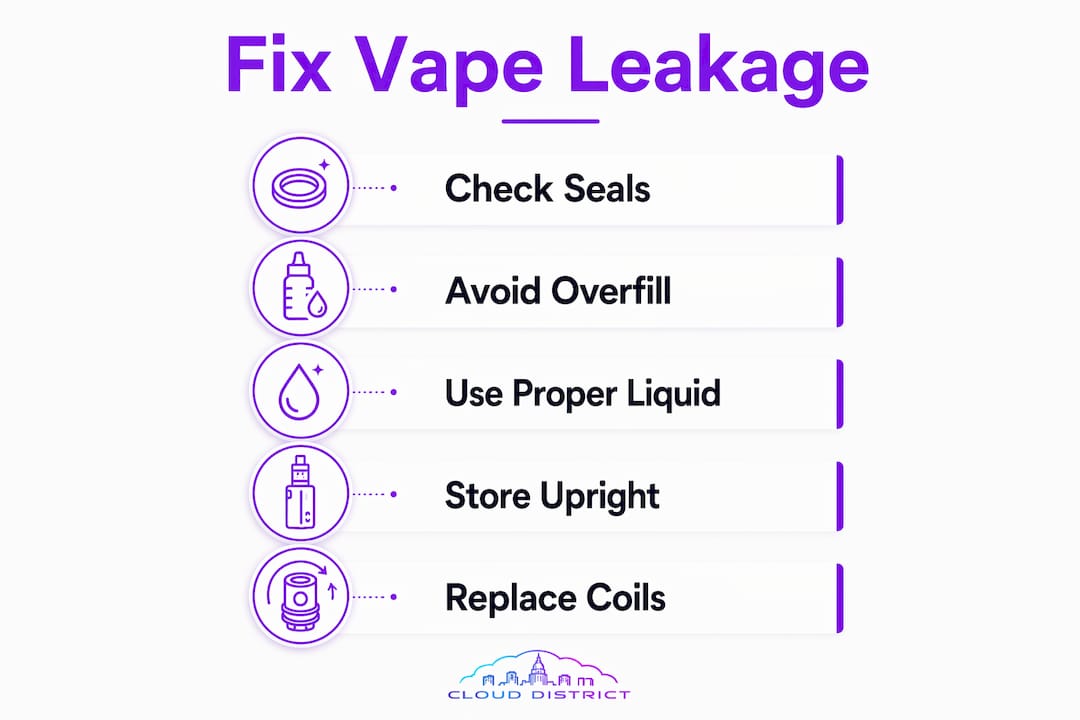
The optimal fix approach clears internal liquid excess first, reseats seals and coils second, then applies gentle puffs to restore wick saturation before returning to normal use. Skipping steps or jumping straight to aggressive draws makes the problem worse.
Here is what to do, in order:
- Drain excess liquid first. Remove the tank, hold it over a paper towel, and blow gently through the mouthpiece to clear flooded channels. This resets the internal pressure before you do anything else.
- Inspect every O-ring and seal. Remove the coil and check the rubber seals at the base, threading, and glass connections. Replacing misaligned seals stops slow seepage that overtightening will never fix. Overtightening compresses seals unevenly and creates new gaps.
- Reseat or replace the coil. Hand-tighten the coil until it seats flush, then back off a quarter turn. Cross-threading is the most common installation error. If the coil is older than two weeks of regular use, replace it.
- Clean the threads. Wipe tank threads with a dry cloth before reassembly. E-liquid residue on threads prevents a proper seal and accelerates O-ring wear.
- Refill correctly. Fill to the max line, leave the air gap, and let the device sit upright for five minutes before use to allow the wick to saturate evenly.
- Take 1–2 gentle puffs to stabilize pressure before returning to normal draw strength. Hard draws on a freshly fixed device pull liquid directly off a saturated wick before vapor production catches up.
| Problem | Fix |
|---|---|
| Flooded coil from overfilling | Drain excess, refill to max line with air gap |
| Slow seepage at base or threads | Inspect and replace O-rings, clean threads |
| Gurgling and wet hits | Blow out channels, reseat coil, take gentle puffs |
| Leaking at airflow vents | Check coil seating, reduce PG ratio in e-liquid |
| Recurring leaks after fixes | Replace coil and all seals, reassess liquid viscosity |
How to prevent vape leakage long term
Prevention is more reliable than repair. The devices and habits that minimize leakage risk share a common principle: respect the pressure balance the tank was designed to maintain.
Choose the right e-liquid for your device. Matching e-liquid viscosity with device and coil design is the single most overlooked prevention step. Sub-ohm tanks with large wicking ports are built for high-VG liquids (70/30 VG/PG or higher). Mouth-to-lung devices with tighter coils handle higher-PG blends better. Using the wrong ratio in either direction causes either leakage or dry hits.
Inspect seals and coils on a regular schedule. Replace coils every one to two weeks under normal use, or sooner if you notice flavor degradation. Check O-rings every time you clean the tank. A seal that shows any cracking, flattening, or discoloration needs replacement before it fails.
Store your device upright. Laying a tank on its side allows gravity to pull liquid toward the airflow vents. This is especially true for devices with top-fill designs where the coil sits below the liquid level. Upright storage is the simplest vape maintenance tip that most users ignore.
Avoid extreme temperature changes. Heat expands e-liquid, increasing internal tank pressure. Leaving a device in a hot car or near a heat source pushes liquid through seals that would otherwise hold. Cold temperatures thicken liquid and slow wicking, which creates a different set of problems.
Select well-engineered devices. Device design directly affects leakage risk. Devices with adjustable airflow, quality silicone seals, and proper coil tolerances leak far less than budget alternatives. Cloud District’s vape design guide covers exactly which design features to prioritize when selecting a device.
| Prevention Factor | Best Practice |
|---|---|
| E-liquid viscosity | Match PG/VG ratio to device coil type |
| Seal condition | Inspect and replace O-rings at every cleaning |
| Storage position | Store upright at all times |
| Temperature exposure | Keep device away from heat sources and direct sunlight |
| Coil replacement | Replace every 1–2 weeks or at first sign of flavor change |
Key takeaways
Vape leakage is a pressure and seal problem. Fixing it requires addressing the root cause, not just wiping the exterior.
| Point | Details |
|---|---|
| Root cause is pressure imbalance | Overfilling, damaged seals, and bad coil seating all disrupt tank equilibrium. |
| Condensation is not leakage | Thin, clear moisture at the mouthpiece is normal; colored residue at seams is a real leak. |
| Fix sequence matters | Drain excess liquid, reseat seals and coils, then take gentle puffs before normal use. |
| Liquid viscosity affects risk | High-PG e-liquids leak more easily; match viscosity to your device’s coil design. |
| Prevention beats repair | Regular seal inspection, upright storage, and correct filling stop most leaks before they start. |
The part most vapers get wrong
Most vapers treat a leaking device like a plumbing problem. They tighten everything down as hard as they can, refill the tank, and take a hard draw to “clear it out.” That approach fails every time, and I have seen it destroy otherwise good hardware.
The real issue is almost always internal pressure. When I started paying attention to how tanks actually work as pressure systems, my troubleshooting success rate went up immediately. The air gap is not optional. It is the mechanism that keeps liquid in the tank instead of in your mouth. Eliminate it and no amount of tightening will stop the leak.
The second thing most people miss is O-ring condition. A seal that looks fine to the naked eye can be slightly compressed or misaligned in a way that allows a slow, steady seep. I now replace O-rings on a schedule rather than waiting for visible damage. The cost is negligible. The difference in device reliability is significant.
The last overlooked factor is draw technique after a fix. Professionals clear internal pressure by draining excess and using gentle pulls to let the wick re-saturate evenly. Hard draws immediately after reassembly pull liquid faster than the coil can vaporize it, flooding the chamber again. Two or three slow, gentle draws after any fix will tell you immediately whether the problem is resolved or whether you need to go back and check the seals again.
— Justin
Find devices built to stay leak-free at cloud district

A well-built device solves half the leakage problem before you even fill it. Cloud District carries a curated selection of vape kits engineered with quality seals, proper coil tolerances, and airflow systems that hold pressure correctly. The Pulse Strawberry Kiwi Thermal Edition is a strong starting point for vapers who want reliable performance without constant maintenance. For those looking for a durable, high-capacity option, the CLIO Platinum 50K Kit delivers advanced coil and seal technology that reduces the most common causes of leakage. Browse the full selection at Cloud District and earn Cloudz rewards on every purchase.
FAQ
What is vape leakage exactly?
Vape leakage is the unintended escape of e-liquid from a device’s tank or reservoir through seals, airflow vents, or threading. It differs from normal condensation, which is thin moisture inside the mouthpiece or airflow path.
Why does my vape leak from the bottom?
Leaking from the base typically signals a damaged or misaligned O-ring at the coil base or tank connection. Inspect and replace the seal, clean the threads, and reseat the coil before refilling.
Does e-liquid type affect how much a vape leaks?
Yes. High-PG e-liquids are thinner and flow through micro-gaps more easily than high-VG blends. Matching your liquid’s PG/VG ratio to your device’s coil design significantly reduces leakage risk.
How do i know if my vape is leaking or just condensing?
Place the device on a dry paper towel for 10 minutes. Condensation leaves a faint, clear mark. A real leak leaves a colored, oily stain. Gurgling sounds and wet hits confirm active leakage rather than condensation.
Can i fix a leaking vape without replacing parts?
Often yes. Drain excess liquid, clean the threads, and reseat the coil without replacing anything. If the leak continues, inspect the O-rings. A beginner’s device guide can help you identify whether your device design is contributing to recurring issues.